
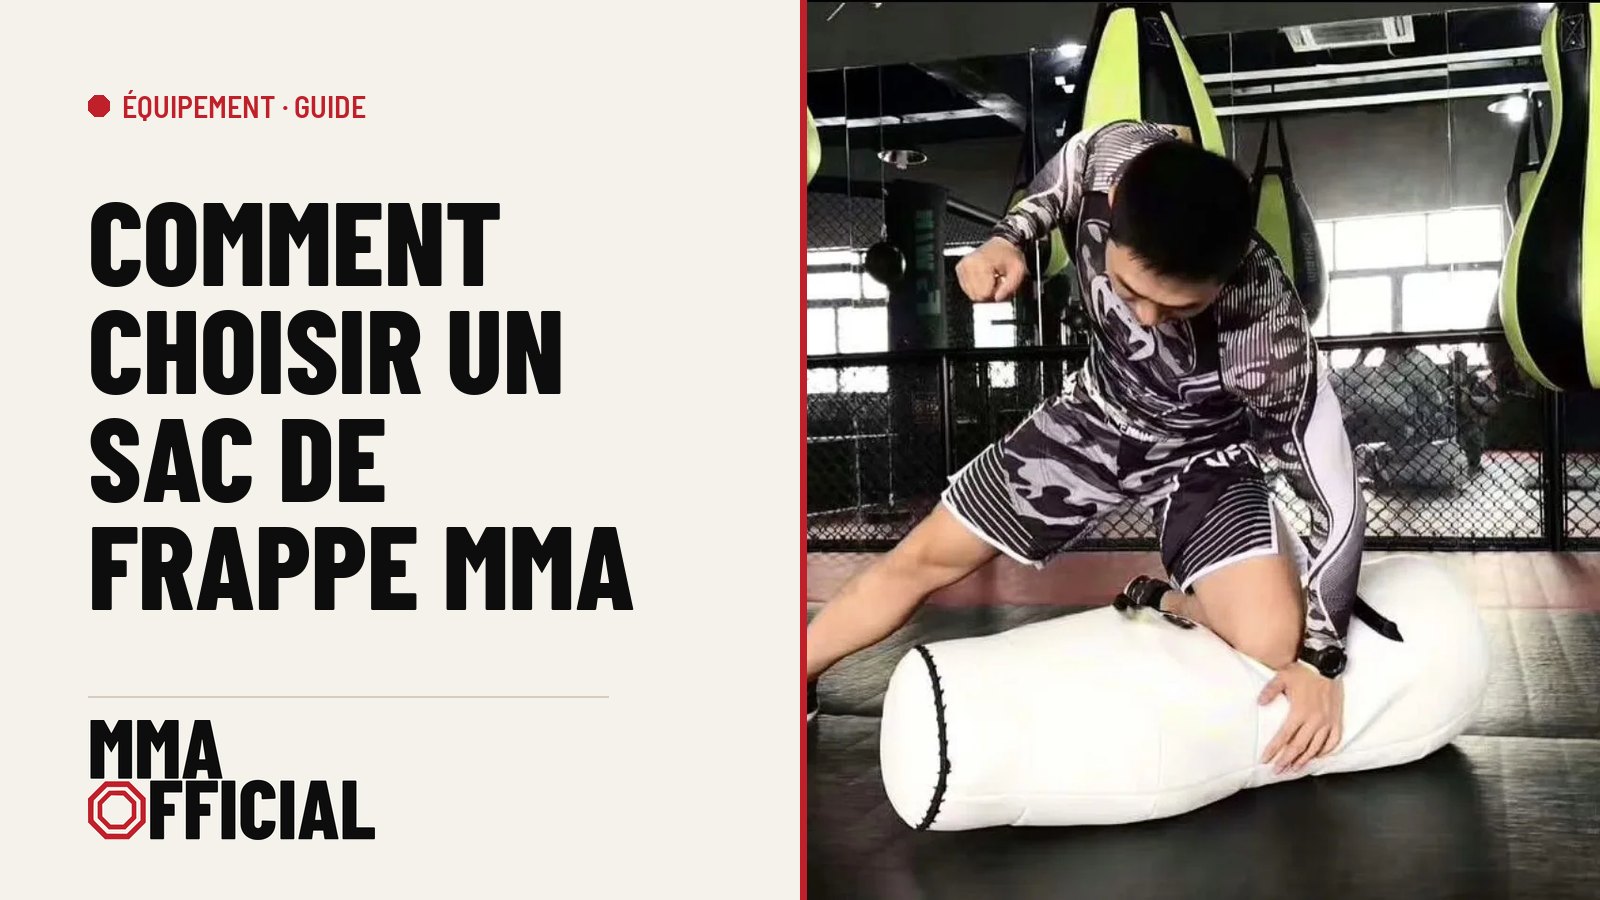
The heavy bag is the centerpiece of home MMA training. It is where you build striking power, timing, combinations and sport-specific cardio. But not all bags are equal, and a bad choice will cost you, literally. A bag that is too light bounces on every strike and has you chasing it; too hard, and it will wreck your wrists and shins within weeks; poorly mounted, it will come down from the ceiling or sit there unusable. This guide gives you what you need to choose the right bag for your size, your space, the disciplines you train and your budget.
6 Types of Heavy Bags for MMA
The market offers a range of bags, each built to develop specific qualities. Understanding the differences lets you choose the right tool, or the right combination of tools if you have the space.
The Hanging Cylindrical Bag: The Classic
This is the most common bag in MMA gyms. Its cylindrical shape lets you work punches, elbows, knees and mid-height kicks. It comes in several diameters and lengths. For MMA, favor a model at least 35 inches (90 cm) tall and 14 to 16 inches (35-40 cm) in diameter: below that, the target is too small to realistically simulate an opponent. Hung from a chain and swivel, it swings naturally and forces you to manage the bounce the way you would in a real fight.
The Freestanding Bag: Home Freedom
The freestanding bag sits on a weighted base (water, sand) and needs no ceiling mount at all. It is the ideal solution for apartments, garages with no exposed beam, or spaces where you want to move the bag around. Its limits: it bounces differently from a hanging bag (the base anchors the bottom while the top swings), it needs a well-filled base to avoid tipping over, and it holds up less well to repeated low kicks. Some high-end models minimize these drawbacks with heavier base systems and structural reinforcements.
The Aqua Bag: King of Shock Absorption, But Only for High Strikes
The aqua bag is filled with water and usually comes in a spherical shape: a taut, dense sphere that closely mimics the resistance of a human body on impact. That is its main strength: water absorbs shock far more naturally than foam or rags, making it especially easy on the joints. For practitioners with a history of hand injuries, or anyone who wants to add boxing volume without overloading the wrists, it is a serious option.
It excels for punches (jab, cross, hook, uppercut) and for elbows, whose short trajectory suits a fixed spherical target well. On the other hand, its round shape and compact size make it unusable for kicks and knees: a round kick or low kick on a sphere does not give the right feel, the target is too small, and there is a real risk of slipping off it. The spherical aqua bag is therefore a standup tool geared toward boxing and elbows, not an all-purpose MMA bag. Pair it with a cylindrical bag or a banana bag if you want to train every type of strike. One more drawback: it costs more than a traditional bag, and it can leak if the shell is damaged.
The Speed Bag: Timing and Precision
Hung from a platform mounted on a ceiling or wall, the speed bag builds timing, hand-eye coordination and the speed of strike combinations. It does not build power: that is not its job. In MMA, it remains a useful complementary tool for sharpening fast jabs and crosses, but it does not replace a real heavy bag. Add it to an existing setup rather than buying it first.
The Banana Bag: Essential for Low Kicks
The banana bag (or Muay Thai bag) is a long, thin, flexible bag that hangs down to within a few inches of the floor. It lets you work low kicks (strikes to the thighs and calves), middle kicks and head-height roundhouse kicks along its whole length. In MMA, low kicks are a decisive weapon: training them on a standard cylindrical bag is difficult because the bag does not hang low enough. If low striking is part of your training, the banana bag is an essential investment.
The Wrecking Ball: Knees and Uppercuts
Spherical in shape, the wrecking ball is built for uppercuts, tight hooks and clinch knees. Its rounded shape simulates a head or a body in the clinch, making it a very MMA- and Muay Thai-specific tool. It does not replace a cylindrical bag, but adds real value to a setup focused on standup and clinch work.
6 Technical Criteria for Choosing Your Heavy Bag
1: The Ideal Weight, the Half-Bodyweight Rule
The basic rule: your bag’s weight should be about half your body weight. A 154 lb (70 kg) fighter should aim for a 77 lb (35 kg) bag, a 198 lb (90 kg) fighter for a 99 lb (45 kg) bag. This rule ensures the bag absorbs enough energy without bouncing too much or feeling too dead.
A bag that is too light swings too much and flies away on every hard strike: you end up spending more time chasing the bag than hitting it. A bag that is too heavy does not react enough, which creates a false sense of power and forces your wrists and shoulders to absorb too much shock. If you want to train both power and fast combinations, some practitioners invest in two bags of different weights.
2: Height and Dimensions
Hanging height determines the targets available. A standard 35-inch (90 cm) cylindrical bag, hung 12 to 16 inches (30-40 cm) off the floor, lets you work low strikes, body shots and head strikes. For full MMA training, the bottom of the bag should sit 8 to 16 inches (20-40 cm) off the floor to allow low kicks. Diameter matters too: a 14 to 16 inch (35-40 cm) bag offers a realistic target for hooks and elbows. Below 12 inches (30 cm), punches lack surface area and the feel of striking the body is less accurate.
3: Padding, Foam, Rags or Sand
The type of padding determines the firmness and the feel on impact.
- High-density foam: uniform, comfortable and easy on the joints. The best choice for daily training. Quality foam holds its shape for a long time, unlike cheap foam that packs down within a few months.
- Compressed rags: the traditional method. Good value for the cost, but it packs down unevenly: some spots become rock hard and punishing on the wrists. Common in empty bags meant to be filled by hand.
- Sand: never fill a bag with dry sand alone. It packs down and creates concrete-hard spots that fracture metacarpals and shins. If you fill an empty bag with sand, mix it with rags at a maximum ratio of 20% sand to 80% rags.
4: The Outer Shell
As with gloves, the shell material determines durability.
- Genuine leather: maximum lifespan (5 to 10 years), resists abrasion, feels good on contact. Reserved for professional-grade bags.
- Vinyl and PVC: waterproof, easy to clean, but less resistant to repeated abrasion from kicks thrown in socks or barefoot. Good value at the entry level.
- Synthetic (PU): polyurethane, a good balance of cost and durability. Holds up well to impact but does not handle shin guard friction well over the long run.
- Canvas: a thick fabric, the traditional covering for boxing bags. Good durability, but rough on shins and bare feet: better suited to training exclusively in gloves.
5: The Mount, Chain and Swivel
The mount for a hanging bag is often overlooked, and that is a serious mistake. An 88 lb (40 kg) bag in full motion sees dynamic forces far above its static weight. The chain should be steel, rated for at least 440 lb (200 kg). The swivel (the rotating link connecting the chain to the mounting point) should be forged steel, not zinc alloy. A cheap swivel can fail without warning, with the bag at full speed. Also check the bag’s own attachment point: the top loop should be built into the fabric, not simply glued on.
6: Pre-Filled vs. Empty to Fill Yourself
Bags are sold filled or empty. Each option has its advantages.
Pre-filled bag: ready to use, weight guaranteed by the manufacturer. Higher shipping cost (the weight). Padding controlled at the factory. If damaged in transit, the padding can end up unevenly packed.
Empty bag: lower shipping cost. You choose and control the padding (type, firmness, final weight). Ideal for customizing the tool to your build and preferences. Requires an investment of time and padding material.
Hanging Bag vs. Freestanding Bag: Comparison Table
| Criterion | Hanging Bag | Freestanding Bag |
|---|---|---|
| Realism of motion | Excellent: swings freely in 360 degrees | Average: artificial side-to-side bounce |
| Installation required | Ceiling or frame mount required | None: sits directly on the floor |
| Apartment-friendly | Difficult without an accessible concrete beam | Fully compatible |
| Structural durability | Very high with a solid mount | Moderate: the base wears under strikes |
| Low-kick training | Very good (long bag hanging low) | Limited: the base blocks real low strikes |
| Portability | None (permanent mount) | Good (can be moved, base can be emptied) |
| Noise and vibration | Low with a quality swivel | Low to moderate depending on the model |
| Starter budget | Bag price plus installation | Bag price only |
Installing at Home: What You Need to Know
Mounting on a Beam or Concrete Slab
The ideal mount is an eye hook set into a concrete slab or a steel beam. Use at least an M12 ceiling eye hook, with a lag screw suited to the material. On a concrete slab, an M12 expansion anchor in a 12 mm hole is enough to support a 110 lb (50 kg) bag and its dynamic forces. Have a professional check the installation if you have any doubt about the mounting surface’s strength.
Mounting on Drywall: Avoid at All Costs
A drywall partition is not built to handle the dynamic forces of a heavy bag. Even with special drywall anchors, an intense session can tear the mounting point out and bring the bag down. Do not take that risk. On drywall, invest in a freestanding frame or go with a freestanding bag instead.
The Freestanding Frame: The Garage Solution
If you have no accessible beam, a freestanding steel frame lets you hang your bag without any wall mount. Check the frame’s rated load capacity (given in kg or lb) and compare it to your bag’s weight multiplied by a dynamic factor of 3 to 5. An 88 lb (40 kg) bag needs a frame rated for at least 330 to 440 lb (150-200 kg) to be used safely. Weigh down the frame’s base if it is not anchored: some frames tip over under angled strikes.
Budget by Practitioner Profile
| Profile | Indicative Bag Budget | Recommended Type | Points to Watch |
|---|---|---|---|
| Beginner / occasional use | Check pricing | Entry-level freestanding bag or hanging PU cylindrical bag | Check load capacity, avoid models with no swivel |
| Regular practitioner (3-4 sessions/week) | Check pricing | Quality PU leather cylindrical bag, 77-99 lb (35-45 kg), with chain and swivel | Check for multi-layer padding, stitching quality |
| Serious home gym enthusiast | Check pricing | Genuine leather or aqua bag, 88-110 lb (40-50 kg), frame or concrete mount | Budget for installation (frame or masonry mount) |
| Professional training gym | Check pricing | Pro-grade lines, several bags of different types | Contact gym equipment suppliers directly |
Prices for specific models should be checked directly on retailer sites. Find our updated picks here:
- Best entry-level MMA heavy bags
- Mid-range cylindrical heavy bags
- Banana bags for MMA low kicks
- Freestanding heavy bags
- Freestanding frames for heavy bags
5 Mistakes to Avoid When Choosing a Heavy Bag
Mistake 1: Choosing a Bag That Is Too Light
A bag that is too light bounces violently on every hard strike. In practice, you spend more time repositioning the bag than training. Worse, a bag that swings far away forces you to move forward after every strike, which breaks your rhythm and has you practicing unrealistic footwork. Stick to the half-bodyweight rule as a minimum.
Mistake 2: Skimping on the Mount
A bag that falls during a session can cause serious injury. Never cut corners on the quality of the chain, the swivel and the ceiling mounting point. This is the most serious and the most common mistake in home setups.
Mistake 3: Striking Without Hand Protection
Hitting a bag bare-handed, even “lightly,” is the surest way to fracture a metacarpal or develop chronic tendinitis. Always wear hand wraps and suitable gloves, even for a light session. The habit protects your hands over the long run.
Mistake 4: Buying a Bag That Is Too Hard for Your Level
A bag packed with heavily compressed rags, or with a layer of sand, can be as hard as a wooden post. For a beginner who does not yet have perfect striking technique, repeated impact on too firm a surface damages the wrists, elbows and shins. Start with a foam-padded bag before moving up to firmer surfaces.
Mistake 5: Not Planning for Maintenance
A heavy bag exposed to humidity (garage, basement) degrades quickly. The leather cracks, the foam grows mold, the metal frame rusts. Store your bag away from humidity, wipe it down after sessions, and condition the leather regularly. A steel frame left outside uncovered will rust within a year.
FAQ: Frequently Asked Questions About MMA Heavy Bags
What bag weight should a 165 lb beginner use?
Apply the half-bodyweight rule: for 165 lb (75 kg), aim for a 77 to 88 lb (35-40 kg) bag. A beginner can go slightly lower (66 lb / 30 kg) if their strikes are not yet very powerful, but do not go below 55 lb (25 kg): you would end up chasing the bag instead of striking it properly. As your power builds, you can move up in bag weight.
Does a heavy bag make a lot of noise in an apartment?
Yes, vibrations transmitted into the building structure are the main issue in an apartment. A hanging bag transmits significant vibration into the slab or the beam. Vibration dampers (springs or rubber mounts between the chain and the mounting point) reduce the noise reaching your neighbors but do not eliminate it. In an apartment, a freestanding bag on a thick mat remains the least disruptive solution. To keep bag work civil in a shared building, train at hours that fit with the rest of the building’s routine.
Should you buy a pre-filled bag or an empty one to fill yourself?
If you want something ready to go without worrying about padding, buy it filled. If you want to control the bag’s weight and firmness (and save on shipping), buy it empty and fill it with alternating layers of old clothing and cut high-density foam. Avoid using dry sand alone: it packs down and creates spots of extreme hardness. For an 88 lb (40 kg) bag, start with 66 lb (30 kg) of light padding and add denser material if you want a firmer bag.
Can you train low kicks on a standard cylindrical bag?
With difficulty. A standard 35-inch (90 cm) cylindrical bag hung 12 to 16 inches (30-40 cm) off the floor leaves little room to land clean thigh-height strikes. You can lower the hanging height, but then you lose the high-strike zone. To truly develop MMA low kicks, the banana bag is the answer: its 59 to 71 inch (150-180 cm) length hangs down to within a few inches of the floor and lets you work every height in the same session.
How do you maintain a leather heavy bag?
Wipe the bag down with a dry cloth after every use to remove sweat and surface moisture. Once a month, clean it with a slightly damp cloth and mild soap. Every two to three months, apply a leather conditioner (available at leather-goods stores or sporting goods shops) to maintain flexibility and prevent cracking. Store the bag away from direct UV exposure and humidity. Never leave it wet without drying it: moisture speeds up the breakdown of the stitching and mold growth in the interior padding.